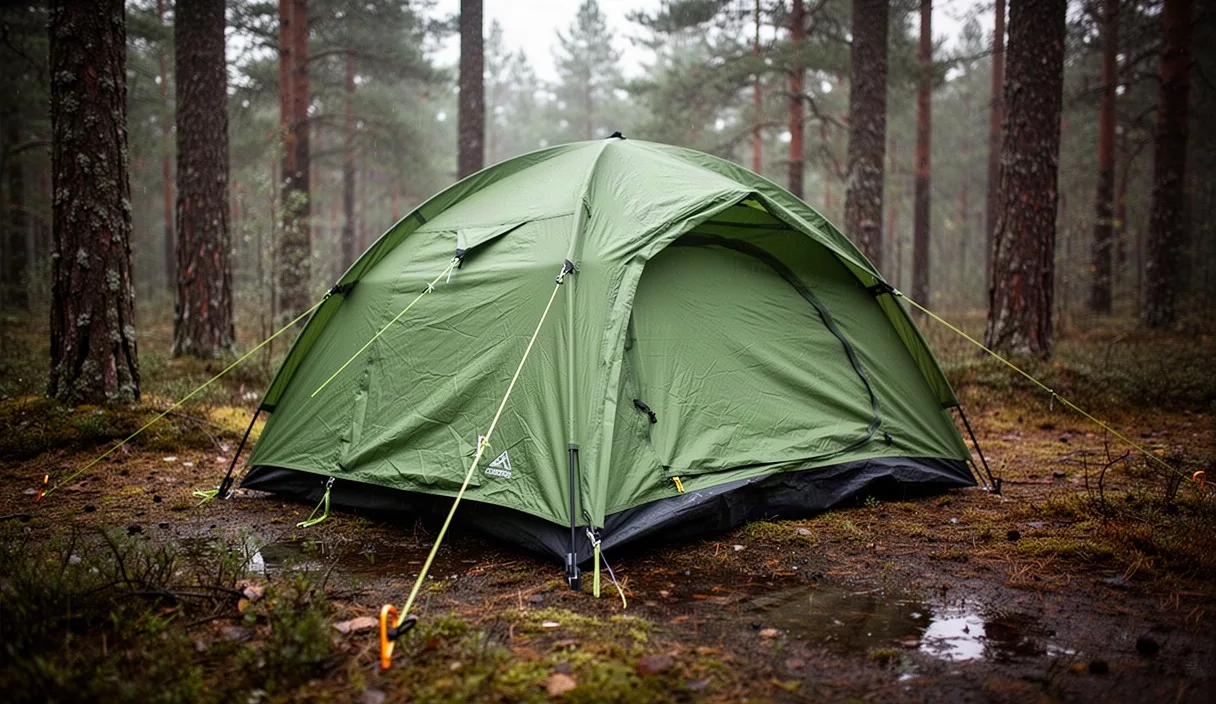
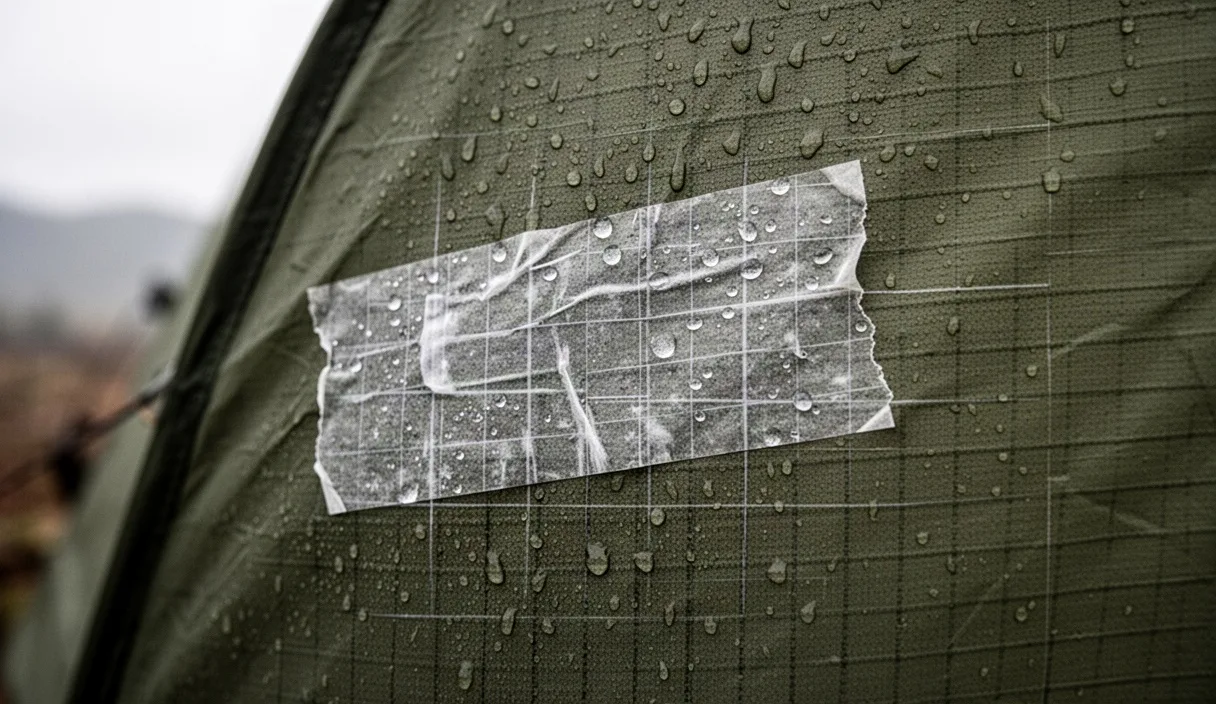
High winds tear tent flies. Sharp granite punches bathtub floors. When shelter fabric rips thirty miles out, retreat is rarely the smart call. You need an immediate, structural repair that holds through sustained 35-knot gusts and driving rain. Ripstop nylon uses a crosshatch grid of reinforcement yarns, usually spaced between 5 mm and 8 mm apart, designed to stop a run before it turns into catastrophic panel failure. The grid isolates the damage, but the exposed edges will fray if left unsealed under wind load.
Backcountry repair differs from shop maintenance. You do not have clean workbenches, flat surfaces, or 24 hours for chemical adhesives to achieve a full bench cure. You have muddy ground, cold fingers, mist, and fabric flapping under mechanical tension. Fixing a tear requires stabilizing the surrounding load vectors, prepping the silicone or polyurethane surface correctly, and installing mechanical barriers that resist shear and peel stresses. The following methods keep your shelter standing until you return to civilization.
Evaluating Fabric Stress Around the Tear
Relieve all mechanical tension immediately. Do not attempt to repair an inflated, staked, or guyed-out tent panel while it remains under load. Slacking the perimeter stakes and guyline tensioners removes the sheer forces pulling the ripped fibers apart. If the fabric is pulled tight while you apply an adhesive patch, the patch bonds to pre-stretched nylon. The moment tension changes or wind direction shifts, that patch will buckle, wrinkle, and peel along the margins.
Inspect the orientation of the tear relative to the weave. Nylon fabric features warp yarns running lengthwise and weft (fill) yarns running across the width. An L-shaped or diagonal tear across the bias is weaker than a straight cut through a single yarn path. Check how close the tear sits to critical structural seams, catenary cut ridges, or guyline reinforcement patches. A tear located within 75 mm of a guyout point experiences multi-axis torque during wind gusts, which will lever the edges of a standard field patch upward within hours.
| Tear Location | Primary Stress Type | Immediate Action Before Patching |
|---|---|---|
| Center of fly panel | Planar shear and flap vibration | Loosen corner guylines by 50 mm to slacken panel center. |
| Within 75 mm of guyout | Rotational torque and high point load | Unhook guyline entirely; relocate tie-out to adjacent loop. |
| Main seam or zipper tape | Direct linear shear across stitch line | Relieve internal pole tension; hand-tack needle and thread first. |
| Bathtub floor radius | Multi-directional puncture and ground friction | Clear sharp rocks underneath; lay flat across a pack or flat log. |
Examine the fabric coating. Polyurethane-coated (PU) nylon feels slightly rubbery or plastic-like on the underside, while the exterior often has a durable water repellent (DWR) finish. Silicone-impregnated nylon (silnylon) feels slick, slippery, and greasy on both sides. Standard pressure-sensitive tapes adhere reliably to PU coatings, but they slide straight off silnylon under minimal shear load. Knowing your fabric coating determines whether you can use standard repair tape or if you must use specialized silicone-compatible pressure adhesives.
Cleaning Surface Residue on Damp Silnylon
Adhesives cannot bond to grit, pine pitch, or condensation. Silnylon surfaces present a low surface energy that inherently repels foreign matter, including pressure-sensitive adhesives. If the panel is wet from rain or interior condensation, drying the repair site is mandatory. Wipe the immediate area with a dry synthetic camp towel or wool sock to remove bulk moisture. Do not rub vigorously with abrasive soil, as fine grit scratches the silicone matrix and accelerates thread degradation.
Degrease the site with an isopropyl alcohol prep pad. Backcountry first-aid kits usually carry 70% isopropyl alcohol wipes. These cut through body oils, tree sap, and mud films without breaking down the nylon base polymers. Scrub an area extending at least 40 mm past every edge of the tear. Allow the alcohol to flash off entirely. In cool, humid conditions at 5 degrees Celsius, alcohol evaporation can take up to four minutes. The surface must be dead matte and dry to the touch before tape touches fabric.
- Clear coarse debris: Brush away pine needles, leaf fragments, and quartz dust with a dry finger or clean cloth.
- Scrub the perimeter: Firmly wipe the bonding area using the alcohol pad in outward circular motions to push contaminants away from the tear.
- Evaporate remaining solvent: Shield the damp area with your torso or a sleeping pad until all liquid film vanishes.
- Warm the substrate: If ambient air is near freezing, place your bare palm against the backside of the clean fabric for 30 seconds to warm the nylon, which improves initial pressure-sensitive tack.
Avoid using bug sprays, fuel, or wet wipes containing moisturizers or fragrances to clean fabrics. DEET dissolves polyurethane and softens synthetic coatings, turning an isolated 20 mm slice into a wide, melted perimeter. Camp soap leaves a surfactant film that prevents adhesive cross-linking. Plain water followed by pure alcohol remains the only field-safe cleaning combination.
Cutting and Rounding Adhesive Patch Corners
Square corners fail first. In wind, fabric flexes along rolling wave paths. A square corner on a piece of repair tape concentrates mechanical stress on a single point roughly 90 degrees wide. Wind catch catches the sharp edge, lifts the adhesive corner, rolls debris underneath, and pulls the entire patch off within a few hours. Cutting smooth, rounded corners distributes peeling forces evenly across the perimeter arc.
Size the patch to overlap the damage by a minimum of 25 mm in every direction. For high-stress zones or long rips exceeding 50 mm, increase the boundary overlap to 38 mm. If a tear measures 30 mm long by 2 mm wide, cut an oval patch measuring at least 80 mm long by 52 mm wide. Use small medical shears, folding pocketknife scissors, or a clean razor blade to round the corners down to a smooth radius of roughly 12 mm.
- Unroll the repair tape on a clean, solid backer such as a water bottle, cook pot lid, or plastic map case.
- Slice the rough rectangle using straight push cuts, keeping the backing paper attached to prevent edge contamination.
- Trim each of the four corners off with curved scissor sweeps, leaving no jagged notches or micro-tears along the cut line.
- Dry-fit the cut patch over the damage to verify that clear, uncreased margin space surrounds the tear on all sides.
Different materials require different tape backings. For PU-coated fabrics, standard TPU (thermoplastic polyurethane) tape like classic Tenacious Tape works exceptionally well. For silnylon, you must use tape specifically backed with a pressure-sensitive silicone adhesive, such as Tenacious Tape Silnylon or dedicated silicone sheeting. Standard duct tape is a strictly temporary, four-hour bivy solution; its rubber-based mastic leaves a sticky residue that ruins proper field patches later, and it will slide off silnylon when damp.
Dual-Sided Patching for Floor Punctures
Bathtub tent floors endure continuous hydraulic and abrasive stress. When ground water pools beneath your floor and body weight presses down from above, moisture exploits any gap in a single-sided patch. A puncture through a 70D nylon floor needs patches applied to both the inside and outside of the material. This dual-sided approach seals the raw woven edges between two adhesive layers, preventing fraying caused by kneeling or shifting sleeping pads.
Create a hard, dead-flat working surface inside the tent. Slide a flat granite stone, a chopping board, or an upside-down aluminum cooking lid directly beneath the puncture point. Smooth out all fabric creases. If the puncture created jagged, frayed nylon whiskers that stick upward, trim them flush with surgical scissors. Do not cut structural threads, but ensure frayed tufts will not sit between the tape and the base fabric, which creates leak pathways.
| Application Surface | Primary Function | Recommended Material |
|---|---|---|
| Underside (Ground-facing) | Resists direct abrasion from rocks, roots, and wet soil | Heavyweight TPU tape or ripstop nylon tape |
| Topside (Interior-facing) | Resists hydraulic pressure from gear and knees | Flexible clear adhesive tape or matching fabric patch |
Apply the exterior patch first. Peel 15 mm of the backing paper, anchor one end to the cleaned floor fabric, and roll the tape over the hole while peeling the remaining paper slowly. Do not stretch the tape during application. Press it down from the center outward to expel trapped air pockets. Next, access the inside of the tent and apply the second patch directly over the identical coordinates. The two patches bond to the fabric and, through the open hole, adhere to each other face-to-face. Burnish both sides firmly using the edge of a plastic lighter or the back of a spoon for 60 seconds.
Temporary Splints for Snapped Aluminum Pole Sections
A broken pole section will slice through your tent fly if pitched without stabilization. Aluminum tent poles usually snap near the ferrule junction due to lateral shock from gusts or an improper seat during assembly. The fractured ends leave jagged, razor-sharp points. Before attempting to splint the break, inspect the internal elastic shock cord. If the shock cord is intact, work carefully to avoid cutting the braid against the sharp aluminum edges.
Most expedition tents ship with an aluminum repair sleeve in the stake bag. This sleeve is a straight metal tube with a slightly larger internal diameter than your pole segments (typically 9 mm to 11 mm inside diameter). Slide the repair sleeve over the pole section until it centers directly over the fracture point. If the fractured metal is flared outward, use pliers on a multi-tool or tap the metal with a smooth rock to crush the flared burrs flat so the sleeve can slide over the break.
- Dress the fracture: Wrap three tight wraps of medical tape or duct tape directly over the jagged metal break to prevent it from rattling and scoring the inside of the sleeve.
- Position the sleeve: Slide the repair sleeve so that the break sits dead center, leaving equal lengths of aluminum sleeve on either side of the fracture.
- Anchor the ends: Wrap friction tape, medical tape, or duct tape tightly around the pole at both ends of the sleeve. Build up a stepped shoulder of tape so the sleeve cannot slide along the pole under wind oscillation.
If you lack a repair sleeve, build an emergency external splint using structural camp items. Two aluminum Y-stakes or flat tent pegs placed opposite each other against the pole provide strong lateral rigidity. Lash the stakes to the broken pole using non-stretch utility cord, utilizing tight friction wraps like a timber hitch followed by half-hitches. Secure the lashings with wraps of tape. Do not use green branches if stakes are available; fresh wood bends under the flexural load required to maintain proper tent canopy shape.
Common Mistakes
Applying standard duct tape to silnylon is the most frequent backcountry error. Duct tape rubber adhesive does not form chemical bonds with pure silicone coatings. It will slide off under five pounds of line tension, leaving a sticky muck that must be scraped off with solvents before a real patch will stick.
Leaving air bubbles under the patch creates failure pockets. When air trapped under a patch cools down at night, it contracts and draws in microscopic moisture droplets through the edges. Always burnish tape flat from the center outward toward the perimeter using a hard, smooth edge.
Applying patches while guyouts are under full tension is a guarantee of immediate edge failure. The fabric must be totally relaxed during installation. If you patch a taut panel, you load the glue line with sheer stresses before the adhesive achieves initial surface grip.
Neglecting pole burrs ruins repairs. Slipping a repair sleeve over an unfiled, flared break catches on the inner sleeve wall, leaving the sleeve wedged off-center. Take the two minutes required to hammer or press flared aluminum burrs flat before sliding sleeves into place.
Next Steps for Permanent Repair
Field patches are temporary stabilization measures designed to complete your trip safely. Once home, hang the tent in a warm, dry room for 48 hours to eliminate all retained moisture. Strip away temporary field tapes slowly. If medical tape or duct tape was used, remove adhesive residue with mineral spirits on PU fabrics or pure isopropyl alcohol on silnylon, testing a small hidden corner first.
Assess whether the panel needs structural sewing or permanent liquid adhesives. For long tears along stress boundaries, sew the ripped edges together using a multi-step zigzag stitch or a flat-felled seam using heavy-duty polyester thread (such as Mara 70). Never use cotton thread, which rots in wet environments. Once stitched, paint both the exterior and interior needle holes with Seam Grip +SIL (for silnylon) or Seam Grip +WP (for polyurethane). Allow these liquid polyurethanes or silicones to cure undisturbed for a full 24 hours on a flat surface before repacking.
For snapped poles, do not attempt to bend fractured aluminum back into permanent service. Aluminum work-hardens and will snap again at lower wind loads. Contact the pole manufacturer (such as DAC or Easton) or an outdoor gear repair specialist to purchase individual replacement segments and shock cord. If a structural hub, zipper coil, or main tension ring tore out, consult a professional gear repair service equipped with commercial bartack machines to restore factory load ratings.