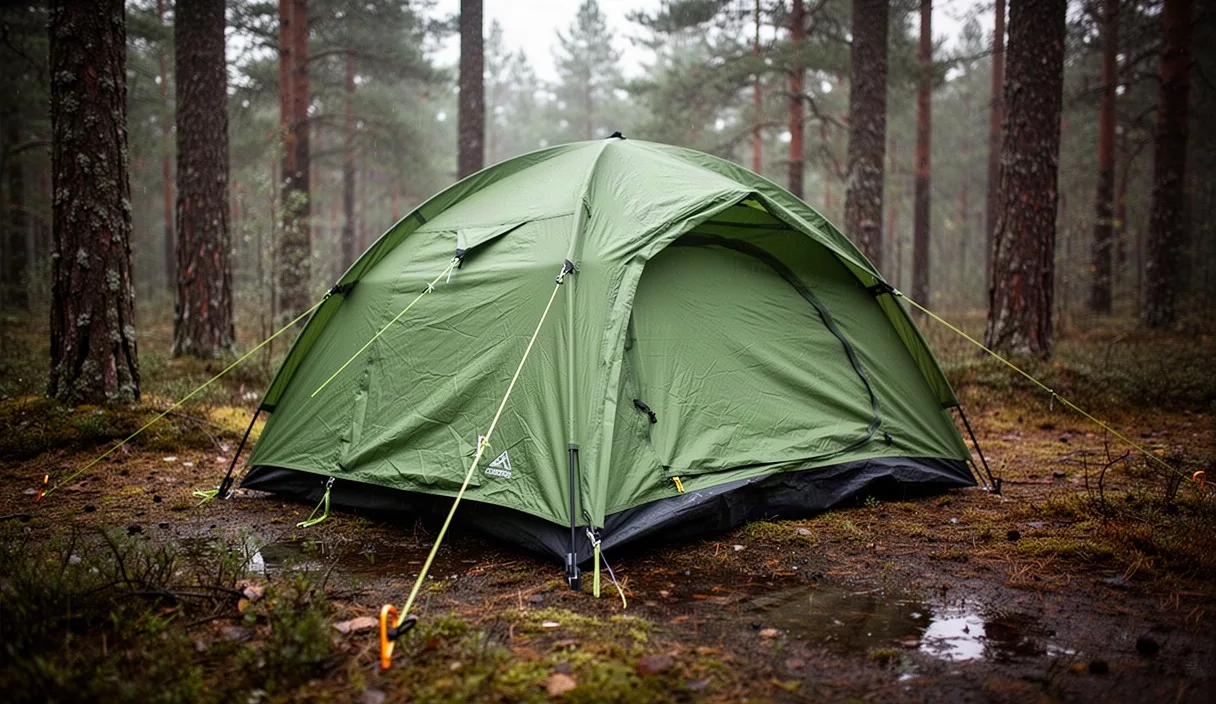
Keep your shelter under two kilograms. Carrying more than two kilograms for a solo or two-person three-season shelter steals capacity from food, water, and cold-weather clothing. Modern fabric weaving and pole metallurgy make sub-two-kilogram shelters standard equipment for multiday traverses, high-altitude trails, and exposed ridge routes without sacrificing basic weather protection.
Every shelter design balances three competing demands: packed volume, liveable interior volume, and structural durability. Shedding weight down to 1.8 kilograms or 1.2 kilograms forces compromises in fabric thickness, pole architecture, or pitching simplicity. Understand these trade-offs before spending money, because a tent that fails during an unexpected September sleet storm in the mountains creates an immediate safety hazard.
Weight Limits and Pack Space Realities
Manufacturers list several weights on retail hangtags. The advertised packed weight includes stuff sacks, spare stakes, guyline cords, and documentation. The trail weight strips these away, counting only the tent body, rainfly, and main pole structure. Measure your load using trail weight plus the exact stakes and lines you need for your target terrain. A practical upper ceiling for a two-person three-season system is 1.95 kilograms. For a solo walker, target an upper ceiling of 1.35 kilograms.
Packed length dictates where the shelter sits in your pack. Long aluminum pole segments measuring 48 to 52 centimeters force you to store the poles vertically inside your pack bag or horizontally strapped to the outside, where branches can tear them off. Modern short-segment poles collapse to 30 to 38 centimeters, allowing horizontal packing directly into the base of a 40-liter or 50-liter backpack alongside your sleeping system.
Compressibility depends on fabric coatings and mesh density. A double-wall tent with a 15-denier nylon fly compresses into a 4.5-liter stuff sack. A single-wall tent built with burly woven fabrics or high-bulk laminates can consume up to 8 liters of pack space despite having an identical trail weight. Calculate volume impact alongside mass before committing to a design.
| Tent Classification | Target Capacity | Average Trail Weight | Packed Size (Liters) |
|---|---|---|---|
| Ultralight Non-Freestanding | 1 Person | 0.65 to 0.95 kg | 2.5 to 3.5 L |
| Semi-Freestanding Double Wall | 2 Person | 1.15 to 1.45 kg | 4.0 to 5.5 L |
| Full Freestanding Double Wall | 2 Person | 1.55 to 1.90 kg | 5.5 to 7.0 L |
Silnylon versus Polyurethane Coatings
Waterproof fabrics rely on base yarns treated with distinct protective layers. Most shelters under two kilograms use nylon or polyester between 10-denier and 30-denier. How these yarns are coated determines water resistance, tear strength, lifespan, and wet-weather behavior.
Silnylon is nylon impregnated with liquid silicone on both sides. Silicone penetrates the yarn fibers rather than resting on top. This increases the fabric tear strength up to two times compared to polyurethane-treated equivalents of the same thread weight. Silnylon does not peel, hydrolyze, or develop the foul, sour odor common to degraded gear. It has one major field quirk: nylon absorbs moisture and expands, causing the fly to sag by roughly 4 to 6 percent when rain starts. You must retension your guyline lines before sleeping to keep the outer fly from touching the inner canopy.
Polyurethane coatings, often labeled PU, sit as a laminate film on the underside of polyester or nylon. PU allows factory tape to seal seams effectively, which silicone resists. However, standard ether-based PU degrades over three to five years when exposed to moisture and heat through chemical hydrolysis. Look for polyether urethane, or PeU, coatings if buying a polyurethane-treated tent. PeU resists hydrolysis and tolerates long storage intervals without turning sticky.
Silpoly, or silicone-impregnated polyester, provides a compelling middle ground. Polyester absorbs almost no water, preventing fly sag during continuous rain. It maintains its pitch tension from dusk to dawn. The trade-off lies in absolute tensile strength: polyester has a lower tear threshold than nylon at identical denier ratings, making adequate reinforcement patches at guyout points non-negotiable.
Freestanding versus Trekking Pole Geometry
Freestanding tents use a dedicated skeletal frame made of hubbed aluminum or carbon-fiber poles. The tent body holds its shape without any ground anchors. You can lift the entire pitched unit, shake out dirt, and shift it two meters to avoid a hidden rock or tree root. They handle wind well because the rigid frame resists cross-breezes independent of stake holding power.
Trekking pole shelters eliminate dedicated tent poles by using your walking poles as the main vertical supports. This approach cuts 300 to 600 grams directly out of your pack base weight. The structural integrity depends entirely on ground anchoring. If a stake pulls out of loose granite scree, wet sand, or thin alpine soil, the shelter collapses onto the occupants.
Assess your typical route surfaces before choosing between these styles:
- Select freestanding frames for timber platforms, exposed rock ledges, frozen ground, or compact desert soils where driving stakes deeper than 5 centimeters is impossible.
- Select trekking pole shelters for soft forest floors, deep loam, sustained alpine meadows, and long-distance paths where total daily energy expenditure takes priority.
- Select semi-freestanding hybrids to split the difference: these use a single hubbed pole down the spine with two freestanding corners at the head, requiring two rear stakes to tension the footbox.
Interior volume varies wildly across geometries. Freestanding designs use angled hubs, pre-bent pole sections, and cross-ridge poles to push sidewalls vertical, providing practical headroom up to 100 centimeters. Trekking pole shelters form strict A-frame or pyramid profiles. They generate high apex peaks, but the walls slope down sharply, bringing cold, condensation-wet fabric closer to your sleeping bag face and toe box.
Vestibule Utility and Wet Gear Storage
Liveability depends on the size and layout of vestibules. A vestibule is the covered area between the outer rainfly door and the inner tent mesh. In bad weather, this space serves as your transition zone, drying room, and boot rack. Never purchase a two-person tent that features only a single door and vestibule if you plan to share the shelter. Forcing one camper to crawl across another for a 2:00 AM bathroom break destroys sleep and smears condensation from the walls.
Measure the usable floor area under the vestibule fly. An area between 0.65 and 0.85 square meters per side provides enough space to drop a 60-liter backpack flat and park trail running shoes clear of the inner doorway. Check the drip line geometry: open the vestibule zipper during rain. If the rainfly cut allows water to fall directly onto the open mesh floor of the sleeping area, you will flood your sleeping pad whenever entering or exiting.
Ventilation ports built into the peak of the vestibule keep moisture levels down. The human body exhales between 300 and 500 milliliters of water vapor every night. Without positive cross-ventilation, this moisture hits the cold interior of the rainfly, condenses into droplets, and shakes loose onto your quilt whenever wind strikes the shelter. Choose vestibules with stiffened strut vents that remain propped open even in driving rain.
Floor Denier and Groundsheet Protocols
The tent floor endures direct mechanical abrasion from rocks, pine needles, and your body weight focused through knees and elbows. Floor fabrics are rated by denier, which measures the linear mass density of the threads. Ultralight floors drop down to 15-denier or 20-denier fabrics to keep weights below 1.5 kilograms. Standard floors sit around 30-denier to 40-denier.
A thin floor demands an objective site assessment and clean ground preparation. A sharp stone can punch through a 15-denier floor under a 75-kilogram camper's knee, compromising the hydrostatic head rating immediately. Hydrostatic head measures how tall a column of water the fabric can support before three drops seep through. For floors, look for a minimum rating of 1200 millimeters, with 2000 to 3000 millimeters preferred for sustained boggy terrain.
Groundsheets, also called footprints, protect low-denier floors from punctures. You can buy factory footprints made of matched fabric, but they often weigh 180 to 260 grams, wiping out the weight advantage of an ultralight shelter. Cut your own custom footprint from lighter industrial membranes instead:
- Acquire building wrap or plastic film. High-density polyethylene, known under the trade name Tyvek (specifically hard-structure Tyvek 1056D), or cross-linked polyolefin window shrink film (Polycro) make functional footprints.
- Pitch the tent completely on dry, level ground. Measure the exact footprint of the bathtub floor base.
- Cut the material 3 to 5 centimeters smaller than the tent floor perimeter on all sides. An oversized groundsheet catches rain dripping down the outer fly and channels it directly underneath your tent floor, creating a swimming pool effect under your sleeping pad.
- Rinse and dry the cut sheet. If using Tyvek, run it through an unheated washing machine cycle once without detergent to soften the material and silence the crinkling noise.
Common Mistakes
- Chasing listed trail weight while ignoring stake counts. A shelter may claim an ultralight weight of 750 grams, but if it requires eight burly stakes to survive a 35 km/h wind, and the package ships with four flimsy stakes, you must add 120 grams of hardware before your trip.
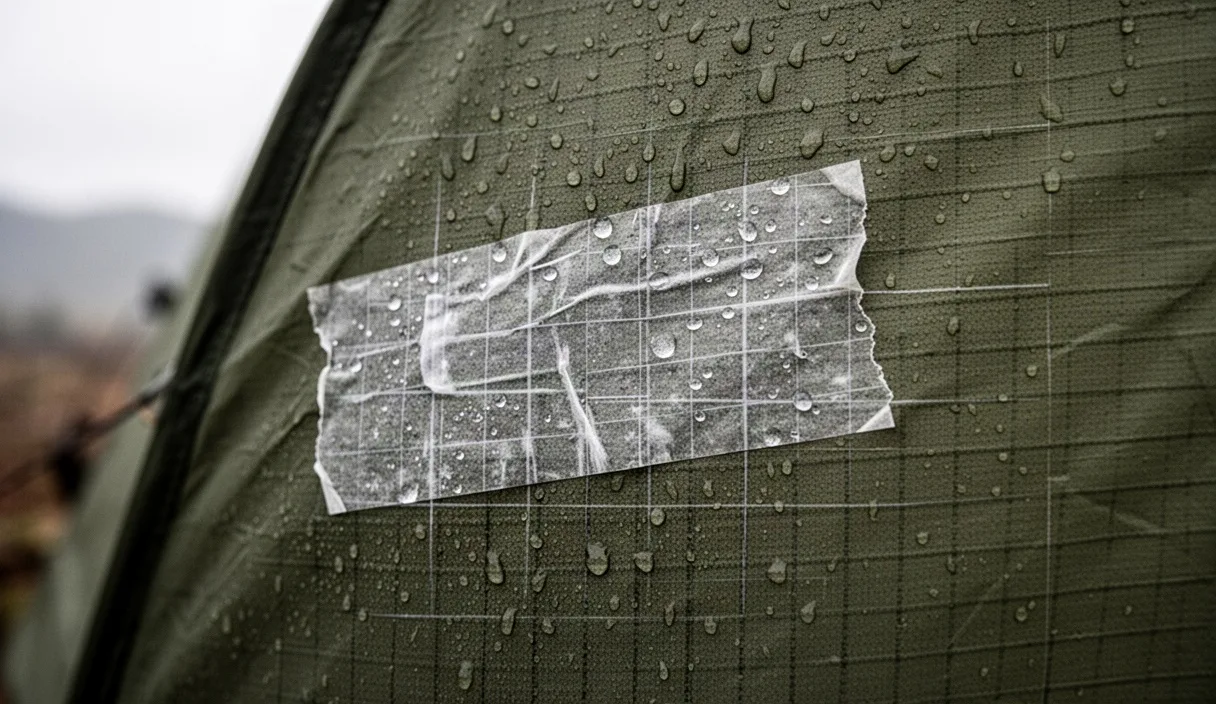
- Failing to seam-seal at home. Many high-end silnylon tents ship without sealed seams because factories cannot apply mechanical heat tape to silicone surfaces. If the manufacturer supplies a tube of silicone elastomer, pitch the tent in your yard and seal every stitched seam 72 hours before taking it onto the trail.
- Overlooking interior usable floor length. A tent floor measuring 215 centimeters sounds generous, but sharply angled end walls reduce usable length. If you are 185 centimeters or taller, a thick 7-centimeter sleeping pad will push your footbox and head against the inner walls, soaking your insulation with condensation.
- Packing wet tents with dry gear. Shoving a sodden rainfly into the same internal pack compartment as your dry sleeping bag ruins down insulation. Always store a wet rainfly in an external mesh pocket or strap it under your top compression lid.
Practical Next Steps
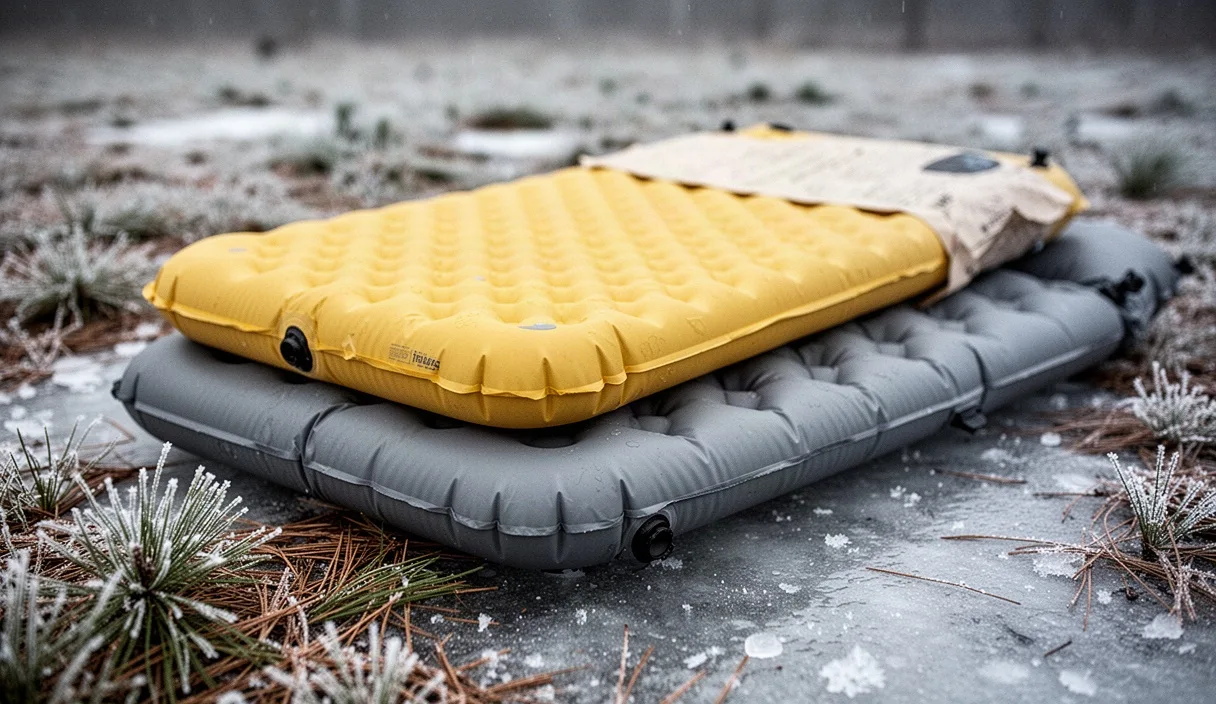
Start by auditing your existing sleep system. Measure the exact length, width, and inflated height of your sleeping pad. If you use a wide, 63-centimeter rectangular pad, verify that the tent you select does not taper below 125 centimeters at the footbox for a two-person model, otherwise two pads will overlap and climb the bathtub walls.
Inspect your route profile. If more than a third of your intended camps sit on exposed ridgelines or bare granite slabs, prioritize a freestanding double-wall design with aluminum poles. If you follow well-graded, heavily forested trails and already walk with two trekking poles, choose an A-frame or pyramid trekking pole shelter to immediately shed 500 grams of pack weight.
Set a firm weight limit: 1.8 kilograms for double-wall freestanding comfort, or 1.1 kilograms for single-wall trekking pole efficiency. Once purchased, pitch the tent three times in your backyard or a local park before your first overnight route. Practice pitching in the dark with a headlamp and while wearing rain gloves. Familiarity with the guyline tensioners and pole geometry in controlled conditions prevents gear failures and dropped components in severe weather.